
This FAQ covers some basic steps to create your own icons using the XP overlay set. Select the image editor that you're using below. Before you start there are a few things to consider. In this guide we mainly use the PNG versions of the icons, but you can use the BMP or GIF versions if you need those formats. The BMP version will need to have the magenta background removed from the overlay first before being dragged into the main icon. The BMP versions are 24bit colour where as the GIFs are 8bit colour so you will generally want to use the BMP versions over the GIF versions unless you specifically need 8bit icons.
Photoshop
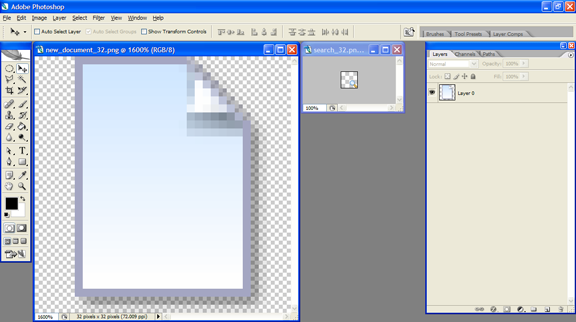
Open the icon you wish to add the overlay to in Photoshop.
Open the corresponding overlay that you are adding to the icon.
Zoom the icon document so that you can see what you’re doing.
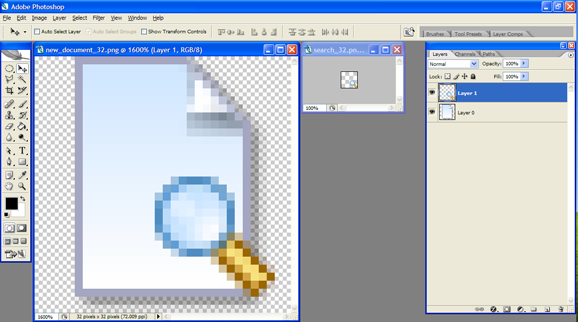
Hold down the Shift key and drag the overlay layer onto the main icon.
Make sure the overlay layer is selected and nudge it up to the left two pixels if you want to add a drop shadow.
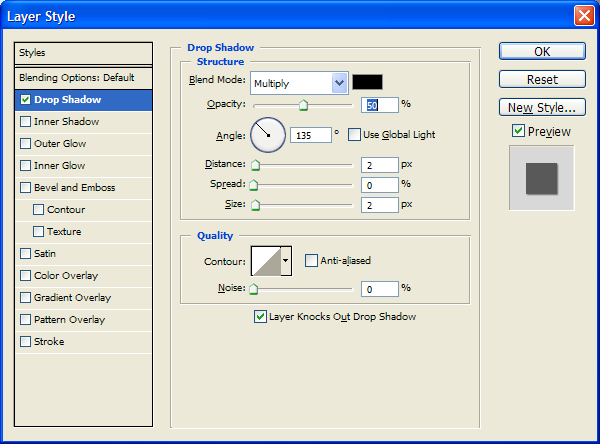
Add drop shadow if required. Layer > Layer Style > Drop Shadow.
File > Save As…
Select PNG as format.
Axialis IconWorkshop
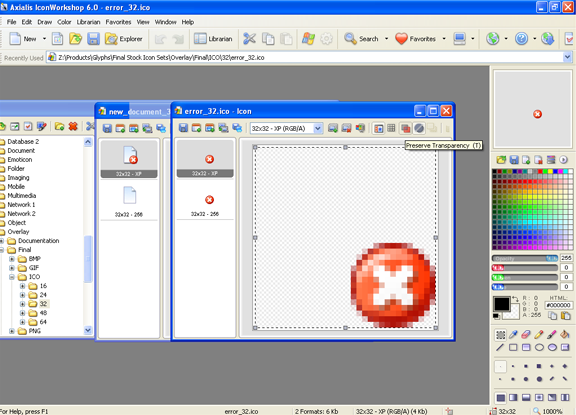
Open the icon you wish to add the overlay to in Axialis Icon Workshop.
Open the corresponding overlay that you are adding to the icon. The ICO version of the icons usually work best.
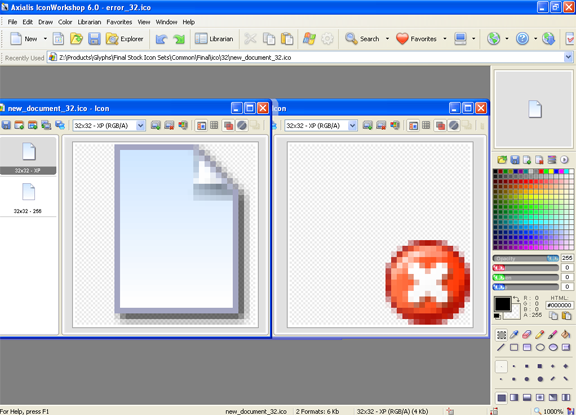
Make sure the Preserve Transparency option is activated for the overlay ICO before copying.
Copy and paste into icon.
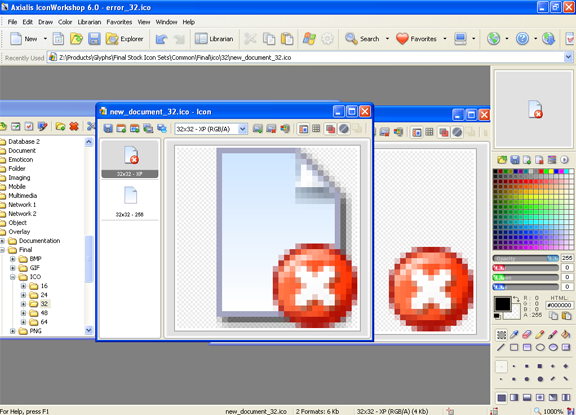
File > Save As…
Select ICO as format.
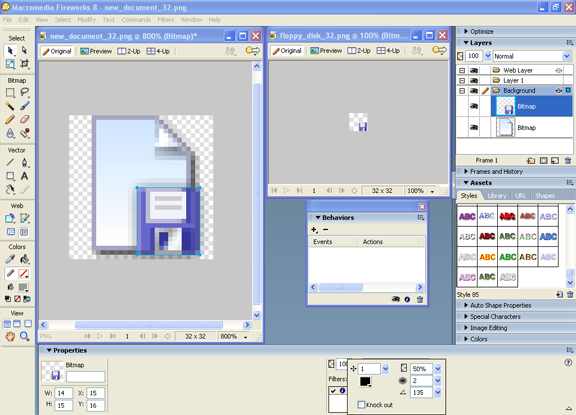
Fireworks
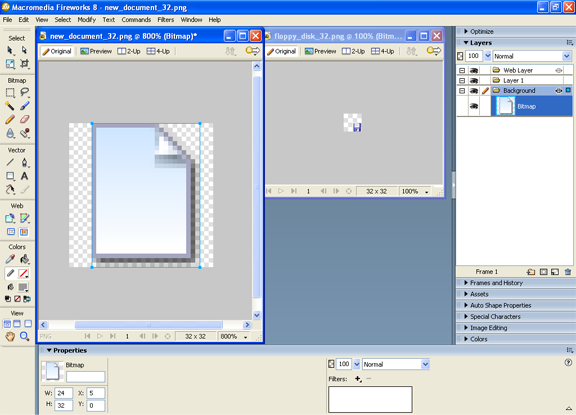
Open the icon you wish to add the overlay to in Fireworks.
Open the corresponding overlay that you are adding to the icon.
Zoom the icon document so that you can see what you’re doing.
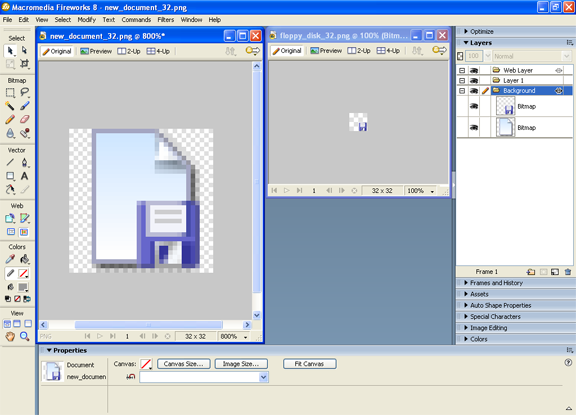
Drag the overlay layer onto icon.
Make sure the overlay layer is selected and nudge it up to the left two pixels if you want to add a drop shadow.
Add drop shadow if required. Click the Add Live Filters button in the Property inspector, then select a shadow option from the pop-up menu.
File > Save As…
Select PNG as format.
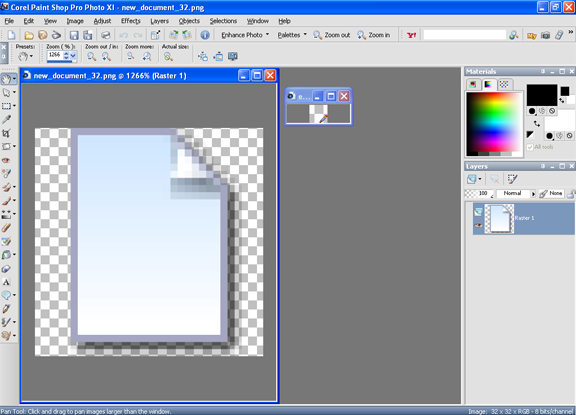
Paint Shop Pro
Open the icon you wish to add the overlay to in Paint Shop Pro.
Open the corresponding overlay that you are adding to the icon.
Zoom the icon document so that you can see what you’re doing.
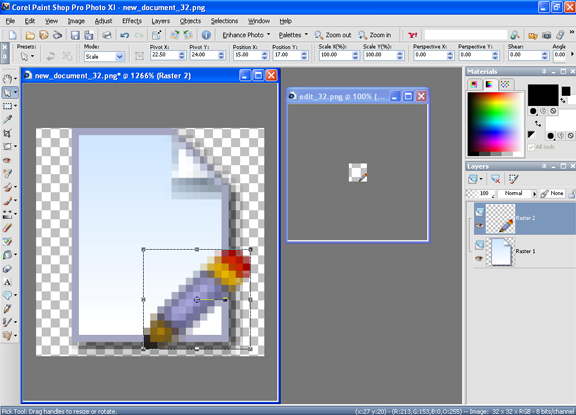
Drag overlay layer onto icon.
Make sure the overlay layer is selected and nudge it up to the left two pixels if you want to add a drop shadow.
Add drop shadow if required. Effects > 3D Effects > Drop Shadow.
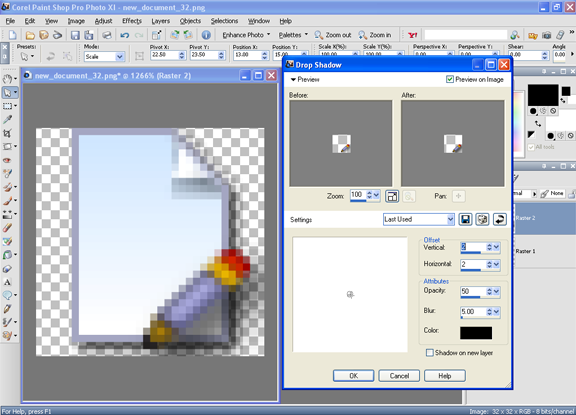
File > Save As…
Select PNG as format.
Microsoft Paint
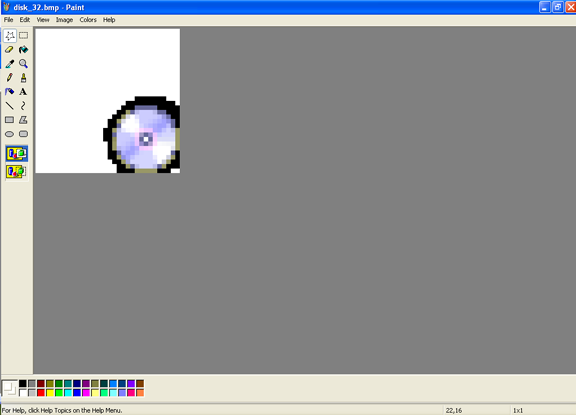
Open the overylay file. Since MS Paint doesn't support layers or transparency it's best to use the BMP versions of the icons.
Zoom the icon document so that you can see what you’re doing. View > Zoom > Custom > 800%
Add white fill over the magenta
Use the free selection tool and select the pixels like so
Copy selection [Ctrl + C .]
Open File you want to put overlay over.
Paste and move it to bottom right
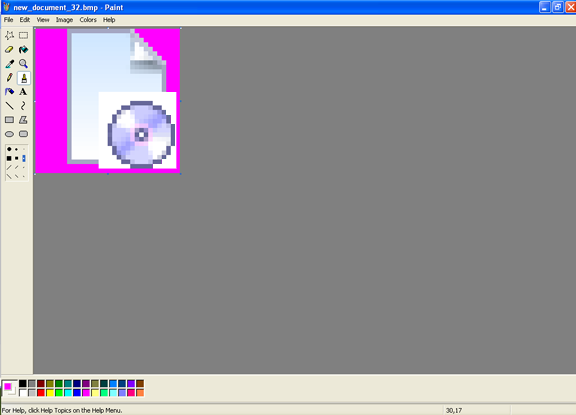
Use the eye dropper and the pencil tool to fill in the white spaces as shown below.
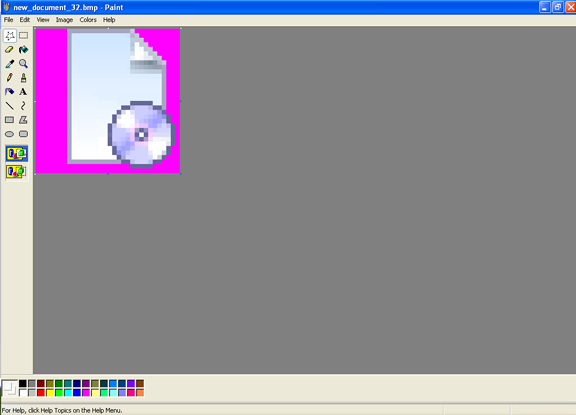
File > Save As…
Select BMP as format.
GIMP
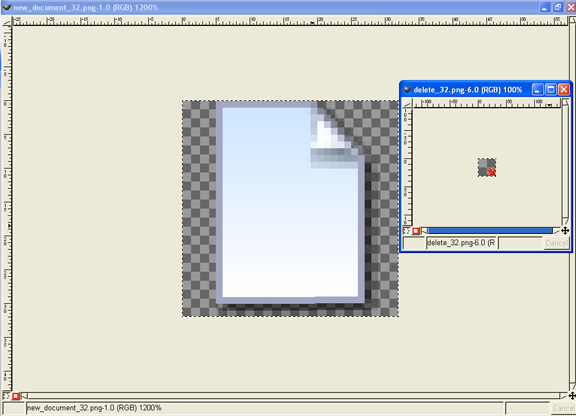
Open the icon you wish to add the overlay to in GIMP.
Open the corresponding overlay that you are adding to the icon.
Zoom the icon document so that you can see what you’re doing.
Make a new layer
copy and paste overlay layer onto icon.
Make sure the overlay layer is selected and nudge it up to the left two pixels if you want to add a drop shadow.
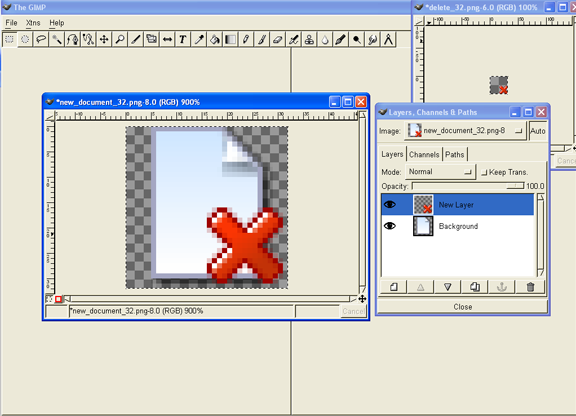
Add drop shadow if required. Filters > Light and Shadow > Drop Shadow...
File > Save As…
Select PNG as format.
Corel Draw
Open new document.
File > Import ,choose icon and then press enter.
Import the corresponding overlay that you are adding to the icon.
Zoom the icon document so that you can see what you’re doing.
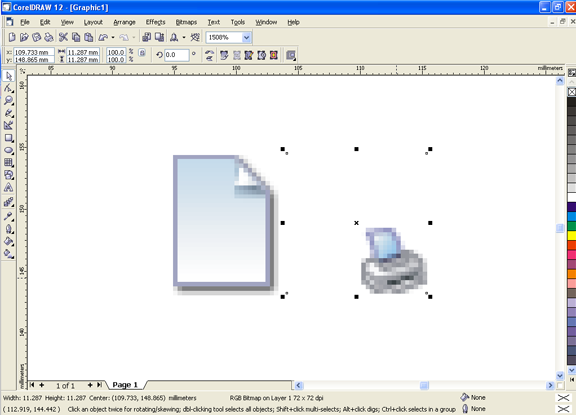
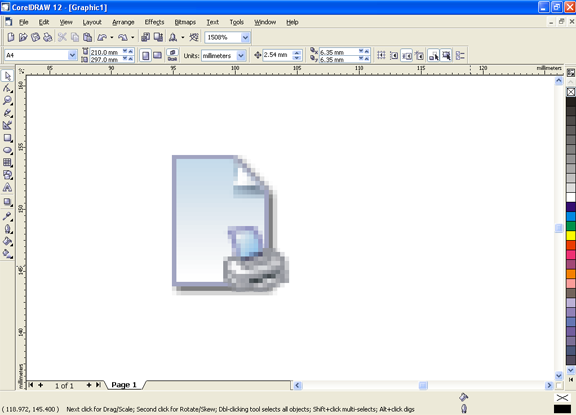
Drag overlay layer onto icon.
Make sure the overlay layer is selected and nudge it up to the left two pixels. (because of XP drop shadow)
Add drop shadow if required. Click on Interactive Drop Shadow Tool > Drop Shadow.
Adjust setting as seen on the top
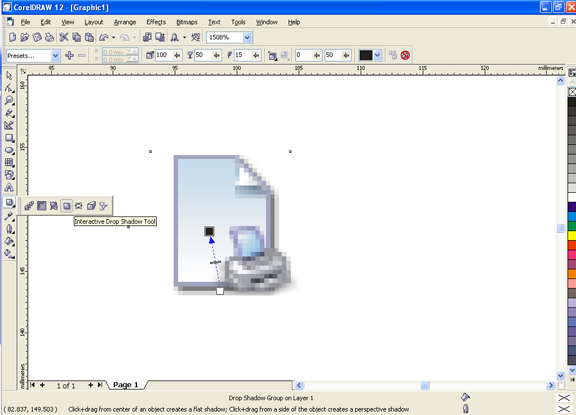
Change document size to 11mm x 12mm
File > Save As…
Select PNG as format.